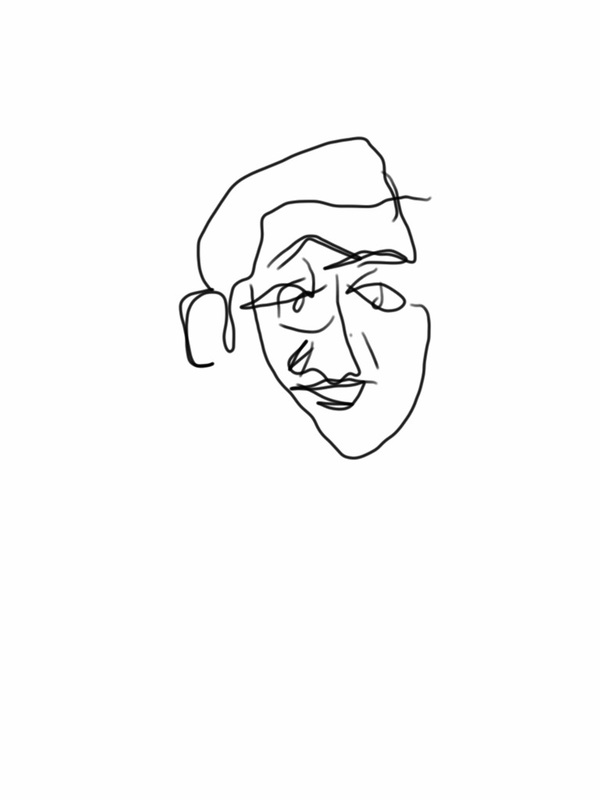
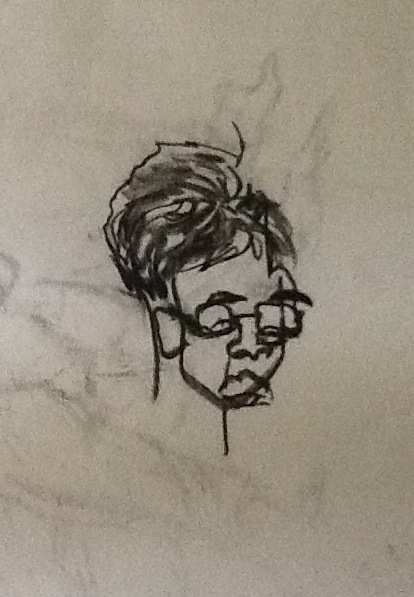
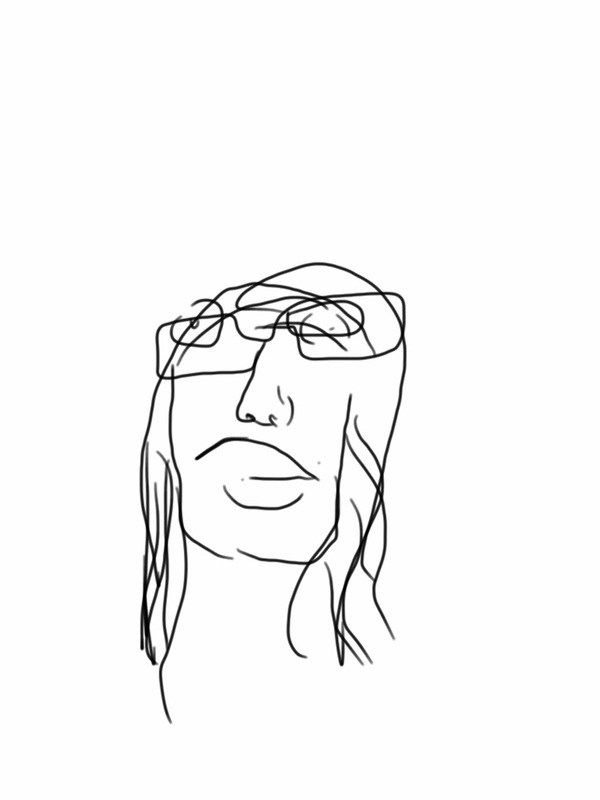
As promised here is a more detailed blog on some of the activities that were done during AESA's Beginners Drawing Workshop. The workshop began with an exploration of blind contour drawing. Blind contour is a method of drawing that involves drawing the contour of your subject while not looking at your paper. For the workshop each participant found a partner and had 5 minutes to draw their partner's face. The key to blind contour drawing is to draw one continous line in a slow and steady manner without lifting your pencil from the paper. While the drawings produced may seem more akin to scribbles, blind contour drawing does help students to draw more realistically, since it trains students to focus on all the details of their subject. I have also found that blind contour drawings are full of character, can be a good classroom icebreaker, and can ease students' anxiety of not being able to draw realistically.
Below are a few examples of blind contour drawings - including the one I did at the AESA workshop.
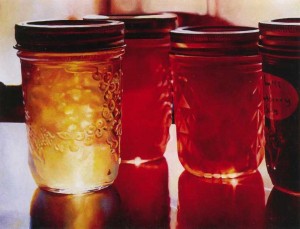
Mary Pratt, Jelly Shelf, 1999

Image source: steelwhitetable.org
Enjoy this video of OK Go explaining primary and secondary colours
_
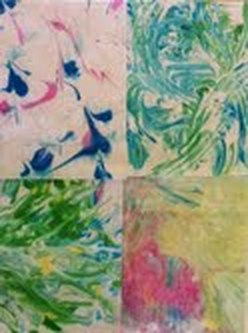
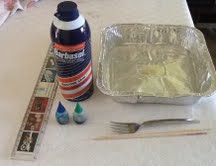
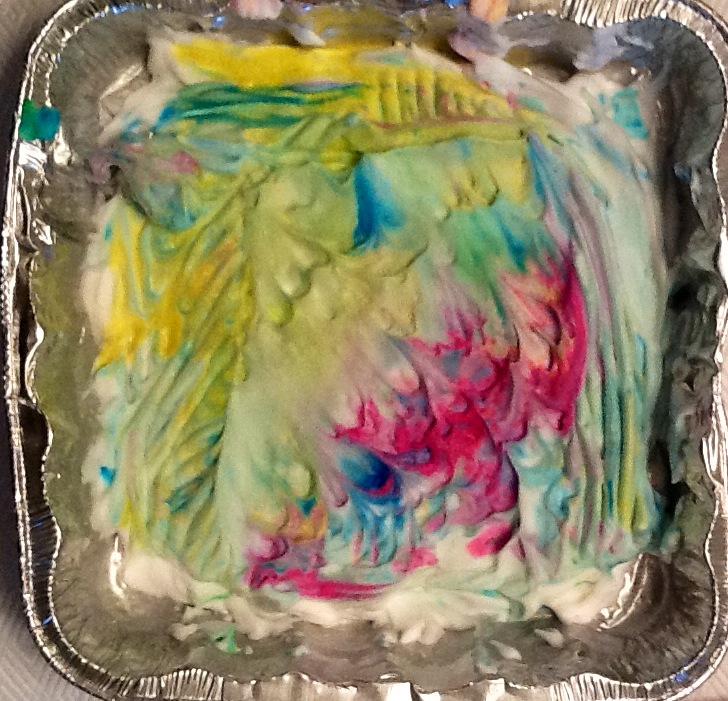
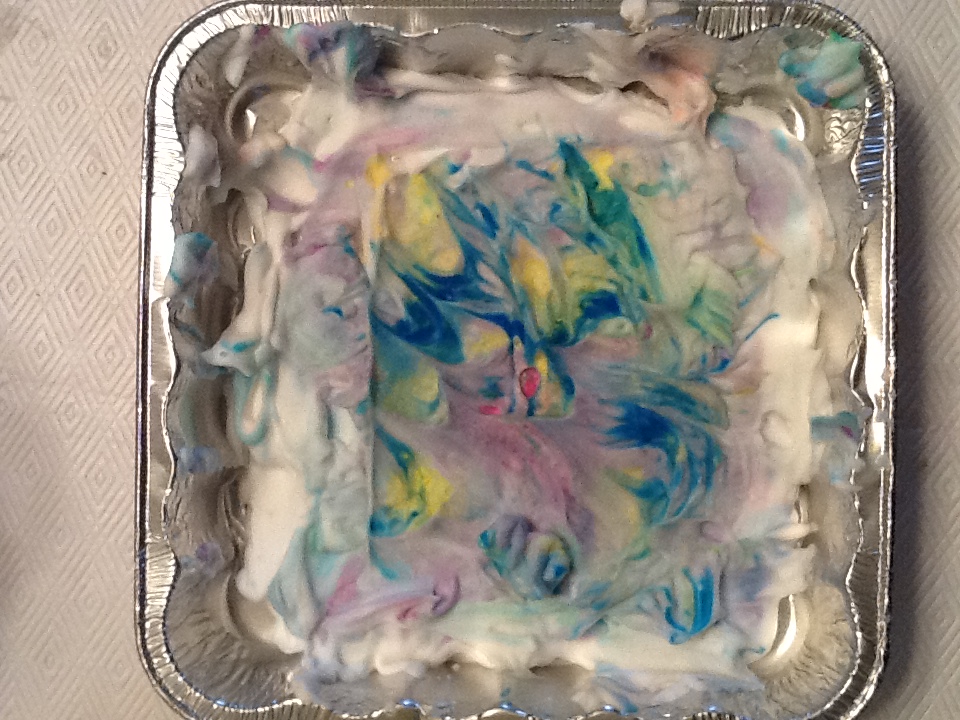
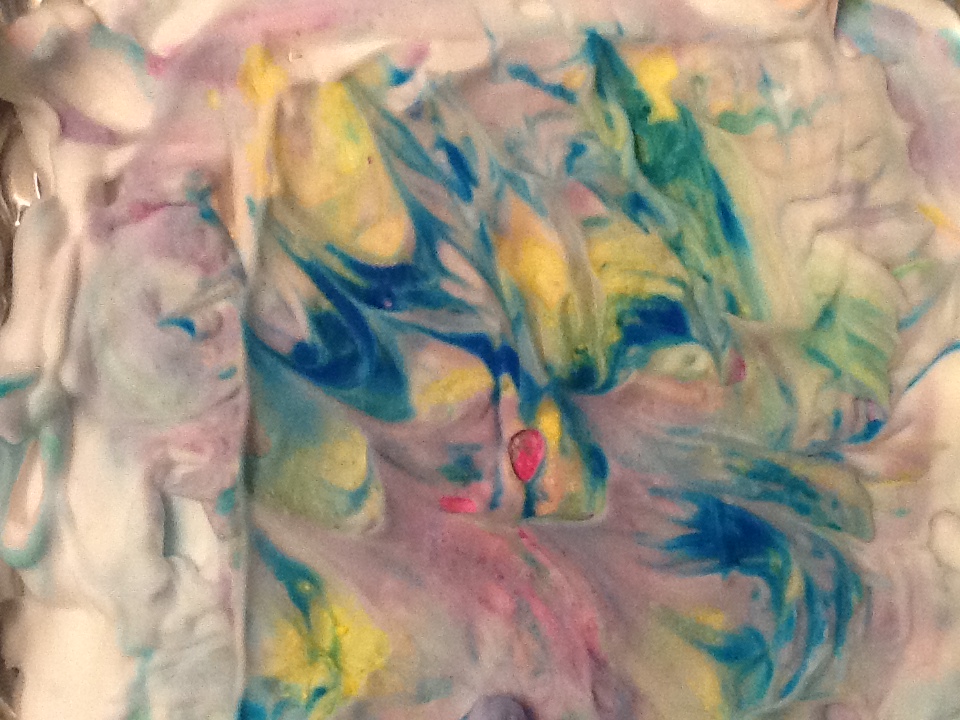
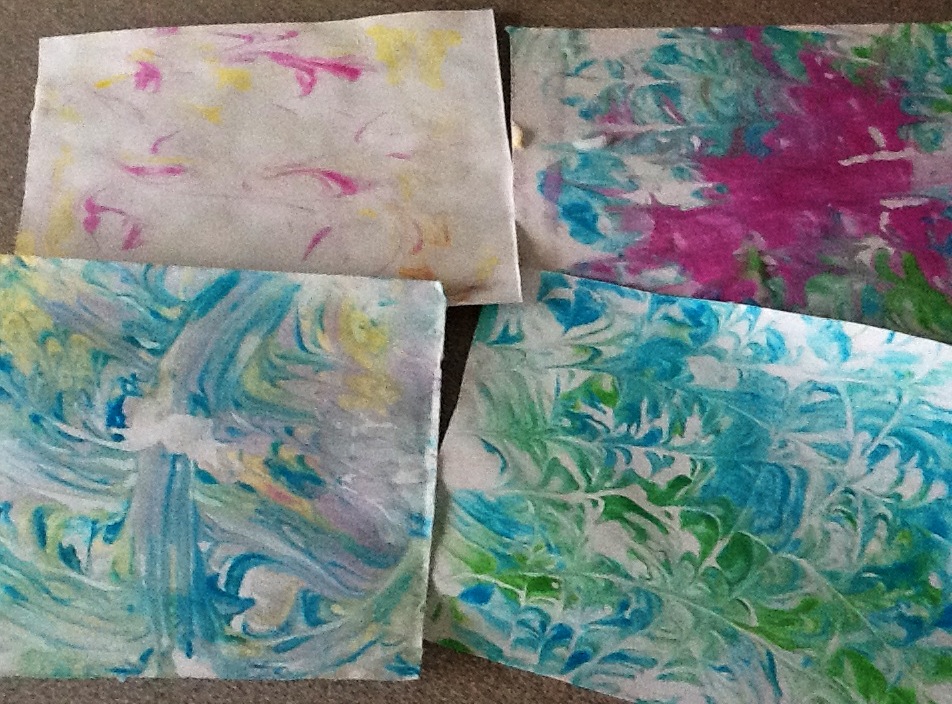
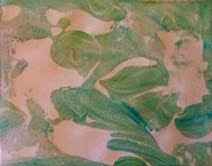
Paper marbling has a long history in Asia, the Middle East, and Europe. Part of its appeal is that each print is a unique monotype. While there are many methods to creating marbled paper, using shaving cream provides an inexpensive and accessible process that is appropriate for all ages.
_Materials- Shaving cream- buy the foam kind, not gel
- Aluminium baking trays
- Paper or Cardstock that is narrower than the squeegee and cut to fit the tray-computer paper works well and is cheap
- Squeegees, rulers, or long pieces of cardboard
- Watered down Tempera Paint in 2-4 colours
- Liquid Food colouring in 2-4 colours
- Wooden skewers, toothpicks, chopsticks, forks
- Rags, or paper towel for clean up
Directions
1. Apply a small amount of shaving cream to the tray. Use the squeegee to create an even layer that is a little wider than your paper and about 1/4 " thick.
2. Evenly space 1 drop of each of the food colours or paint colours onto the layer of shaving cream.
3. Use a fork, toothpick, or other utensil to swirl the colours, spreading the colour out in streaks across the shaving cream.
4. Once you are happy with the design, lay the paper on the shaving cream and gently press to make sure it makes contact with the coloured areas.
5. Peel the paper off of the shaving cream and lay it on a clean surface.
6. Scrape the squeegee or the edge of a ruler across the paper to remove the shaving cream while leaving the colour behind.
7. Set the paper aside to dry and use a rag or paper towel to clean off the squeegee.
8. Repeat the process, but be aware that over swirling will cause the colours to become muddy.
| 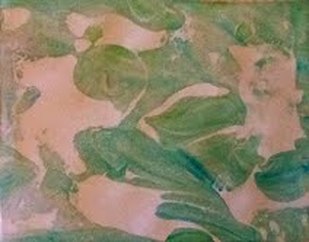 Have fun experimenting with different techniques. For this pattern I made holes in the shaving cream to create the areas of white. |
With daylight saving time tonight I thought this video of Christian Marclay's The Clock which is on display now at the National Gallery in Ottawa would be appropriate. Enjoy the video and don't forget to 'spring forward'.
I thoguht I'd share a few sketches done at the recent figure drawing workshop organized by AESA. In a future post I'll be writing a more detailed account of the tips and tricks that were shared during the workshop, but for now enjoy some awesome drawings!
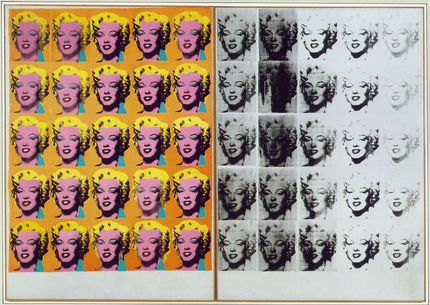
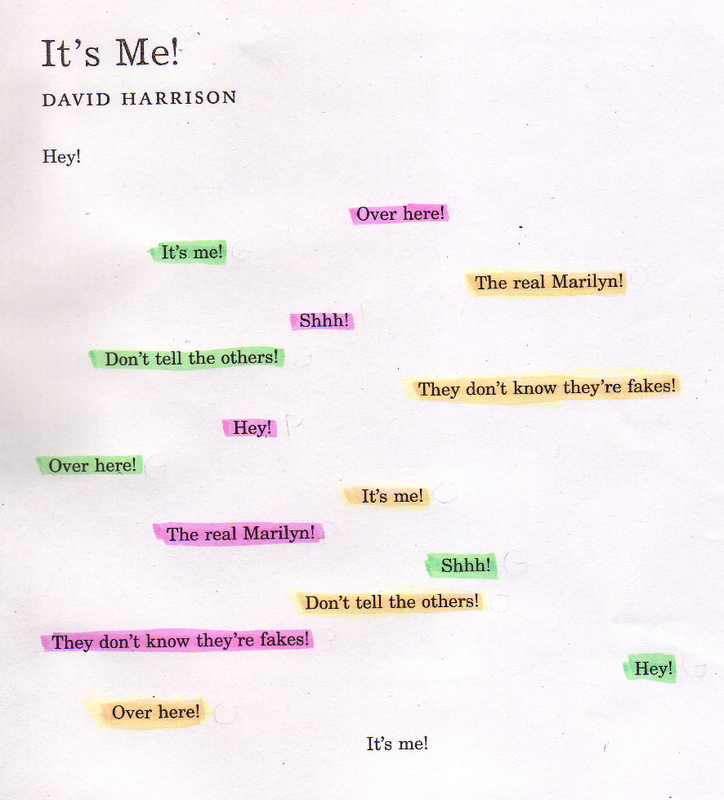
Andy Warhol, Marilyn Diptych 1962 Source: artchive.com
One of my favourite ways to introduce students to poetry is by combining it with art. I recently used the poem It's Me! by David Harrison found in Heart to Heart: New Poems Inspired by Twentieth-Century American Art to teach students about the importance of punctuation and line breaks when writing poems. In this case, Harrison's poem is written in response to Andy Warhol's Marilyn Diptych. Each line of the poem represents a different Marilyn claiming to be authentic - a great way to discuss the themes of celebrity and mass production in Warhol's artworks.
To emphasize the importance of poetry being read aloud, have 3 students from the back, middle, and front of the classroom alternate reading lines of It's Me. I colour coded the poem to make it easier. It may take a few tries before students will 'shout' the exclaimation points, but I've found that once they do, students become engaged with using punctuation and line breaks when writing their own poetry.

Click on the image for a larger version of the poem It's Me!


 RSS Feed