Hey everyone. I am currently in the process of moving this blog. You can follow Art Intertwine by clicking here. The link on AESA's homepage will also take you to updated posts.
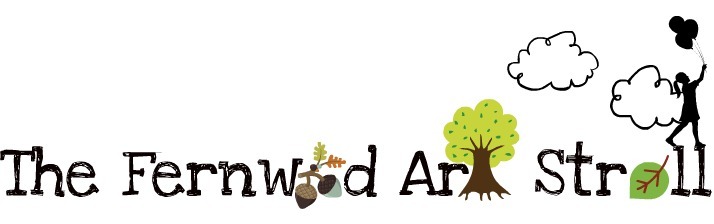 This weekend is the art stroll in Fernwood. The stroll runs from 11-4 on June 23 and 24. I'll be showing some art works along with the Open Art Surge and PACS group show at the Little Fernwood Gallery. The Gallery is opposite the Belfry theatre and the main Fernwood square. As part of the show we are inviting people to participate in creating a community mural. For more information download the Fernwood Art Stroll map and brochure. Fernwood Art Stroll Brochure and Map
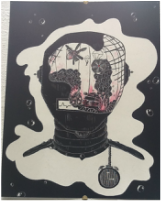
Storm Tharp, The Duke of Albuquerque, 2006 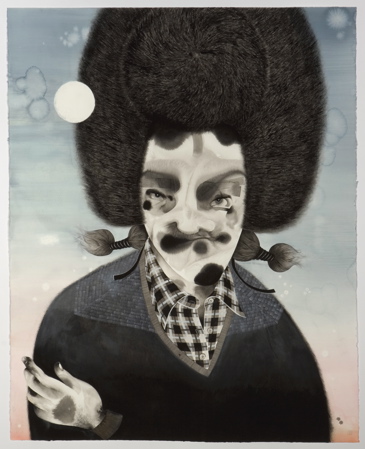
Image Source: pdxcontemporaryart.com
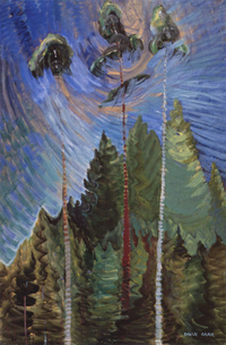 Emily Carr, Odds and Ends, 1939 Seven works by Emily Carr will be showcased in Germany as part of the upcoming art show Documenta. While Emily Carr is well known here on the west coast this show could help Carr's work achieve international recognition.
For the full story, click here. What an amazing display of student artwork! In case you didn't have a chance to check out the Art Ed Grad exhibit Passed:with flying colours, then enjoy this 'virtual' tour of all the great art that was on display. I thought I'd share these Dali inspired clocks that I've been working on for an upcoming lesson. Round clocks were made using sculpey and then slowly stretched and pulled to create the final distorted 'melted' look. 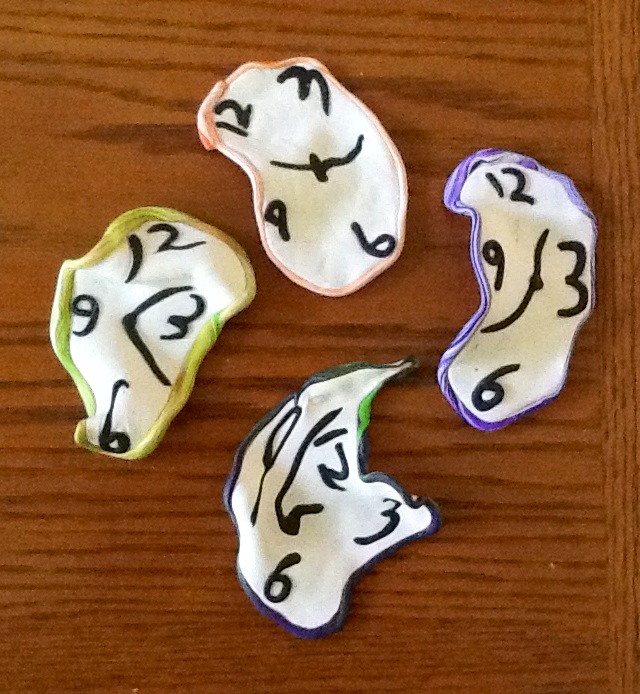 Van Gogh Starry Night Over the Rhone, 1888 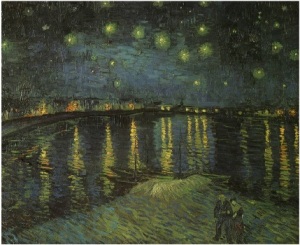 Image Source: vangoghgallery.com I found this activity on The Blooming Palette and thought I'd give it a try. I really liked the freedom involved and the end result of my efforts. I also think that this would be a great activity not only for use in the art classroom but for engaging those who think they don't have artistic talent. Directions The key to this activity is to allow students the freedom to interpret each step. Step 1: Start by taping around the edges of your paper to create a clean border at the end. Then spill any liquid. This could be paint, watercolour, even juice. If you're doing this with students its important not to tell them what to pour or how to do it. Let your page dry. Step 2: Add 3 pieces of masking tape in a linear pattern of your choice. Step 3: Find an organic object - in my case a banana-and use india ink to create a quick gesture drawing. This should take no more than 5 minutes. The only restriction is that your drawing cannot be in the centre of the page. For information on gesture drawing click here. Step 4: Now turn your page and create another gesture drawing of your object. If you wish your second drawing can overlap the first one. Step 5: Once your second drawing is dry choose 3 different coloured oil pastels. Next put one back and trade one with someone else/trade it for a new colour. Use the oil pastels to create bold marks that define positive and negative space. Step 6: Use india ink again to create large areas of black that direct the viewer's eye to a focal point. Step 7: Remove the 3 pieces of tape but not the border pieces. You now have 30 minutes to refine your piece with any of the materials you've used so far as well as white conte to correct areas that may be overly blackened. Step 8: Remove the tape on the edges and share the results as a class. 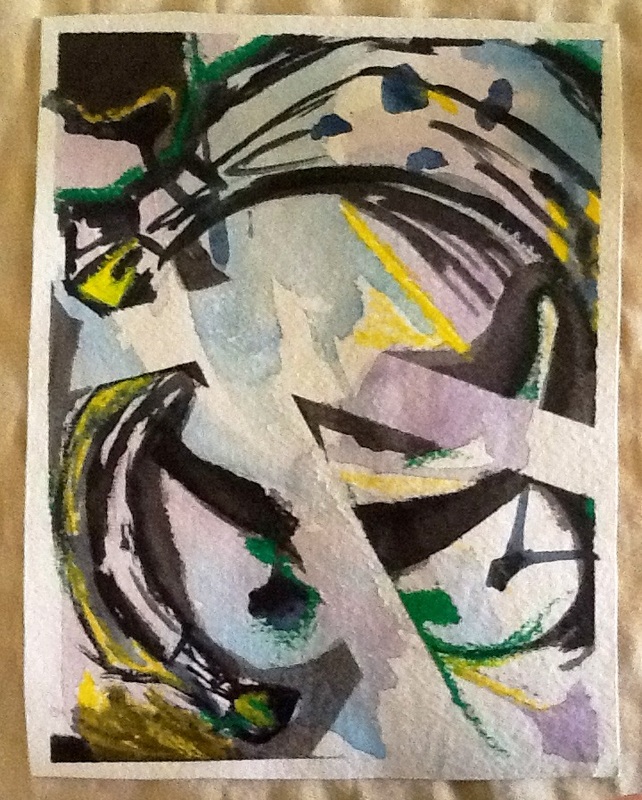 my final artwork I thought I'd share a few images of the fantastic works on display in the Art Ed grad show. If you haven't had a chance to check out the show it will be up until May 21st. For more info see our Upcoming Events/Workshops page.
| 
AuthorHeather Hyslop is the Vice President of AESA. She has a background in Art History and Art Education, and specializes in teaching middle school. ArchivesJuly 2012 CategoriesAll |

 RSS Feed